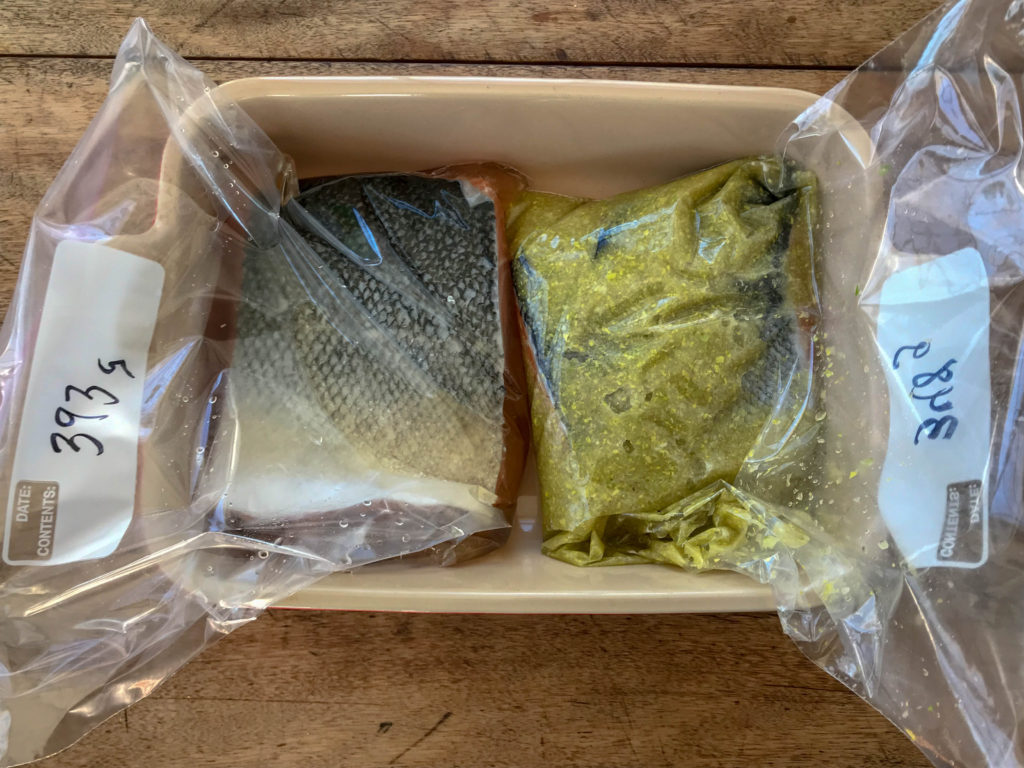
If you want to preserve fish without refrigeration, you have to get the water out of it. The classic way to do this is with salt. Cover fresh fish with salt and it will quickly lose between 10% and 20% of its moisture, maybe even a bit more – enough so you can air dry it in cool weather without it spoiling. In a few weeks, you’ll have something you can safely pack in a barrel and send off with Vikings. You could also smoke it, which lays on an extra anti-bacterial layer, and tastes good.
But can you also just brine it? No, not really. Fish sitting in a salty brine will get saltier, for sure, but it will also gain, not lose moisture, swelling up by between 5% and 10%, by weight. The salt or vinegar in the brine will keep fish from spoiling so long as it is actually sitting in liquid, but once you take it out, the bacterial clock starts ticking and you’ll need to cook and eat it, or find some other way to preserve it. Either way, the main purpose of brine today is to make your food saltier, ergo tastier – depending on the spices and the salt.
Which brings us to sodium nitrate, or its breakdown product, sodium nitrite. Eaters, sodium nitrite is amazing stuff. I know it’s controversial. I know you have to order it by mail. I know they color it pink so you don’t mistake it for regular salt, eat too much of it, and die. I don’t care. I love it anyway. I’m going to put it in recipes. But here, for just this one time, are the pros and cons, so you can have them and make your own decisions.
Nitrite Pros
- Just a small amount has a disproportionately delicious effect on food, in terms of texture, taste and appearance.
- Your body already has a ton of sodium nitrite in it, nearly all of it from certain vegetables like celery and beets.
Nitrite Cons
- There are studies showing an increased risk of cancer associated with chemical nitrite, as opposed to nitrite that occurs naturally.
That’s it – reams of articles absorbed and distilled for you in just three lines. So. It’s cool if you don’t want to use pink salt. Just substitute regular salt instead, maybe adding a bit extra – all pink salt #1 cure, regardless of brand or source, is 6.25% sodium nitrite. The rest is regular salt, a little pink dye, and maybe some anticoagulant.
I have personally decided that I would rather fight cancer on other dietary fronts, as well as with exercise and plenty of good sleep. So I am going to tell you how to work with this stuff.
First of all, sodium nitrite seems to have dozens of names – Pink Salt, Cure #1, Prague Powder, Instacure and a slew of brand names that tell you nothing. What you want is the above-mentioned mix of 6.25% sodium nitrite. The brand I buy is Hoosier Hill Farm Prague #1 Powder Curing Salt. I’m sure you can get the same stuff cheaper. I buy it because I’ve always bought it.
Products labelled Cure #2, and some branded cure names, use sodium nitrate instead of sodium nitrite, or a mix of the two. You probably don’t want that, as it’s not meant to be ingested directly. Sodium nitrate is mainly used in meats that cure for weeks, not days, like sausages and salami. The extra time lets the nitrate break down slowly into nitrite, protecting the meat as it self-destructs. I didn’t have to stock Cure #2 until I got on my current soppressata kick.
You might figure that since there’s a lot of nitrite in celery, etc., that maybe you can just use celery puree and regular salt to make a nitrite cure. I have been out there ahead of you and it doesn’t work. Plus the celery-flavored salmon I created, while not actually unpleasant, was weird. There are some other celery-derived products, like extracts and powders, that purportedly do have enough nitrite in them to make up a substitute – you often see them listed on product labels that also feature the word “uncured,” in boldface. But how do you know if the extracting process preserves the apparent harmlessness of the nitrites in the celery stalk itself?
It’s actually a bit unusual to put sodium nitrite in a brine for fish. You typically run into it for pork products or for corned beef, where it’s amazing how a few grams of pink salt in several quarts of water will turn the meat red, and change the texture. But I found it made a real difference in kippered, baked salmon. And I’m still playing around, but I left it out of my other recipes here, for finnan haddie and for this semi-famous pickled salmon appetizer from a Montreal steakhouse.
Pink salt cure #1, when called out directly in recipes, is normally only a very small part of the overall added salt. For experimentation, it’s good to have a premixed formula like the Basic Dry Cure, which I lifted unaltered from Ruhlman and Polcyn’s ubiquitous Charcuterie. In this mix, the pink salt is only 12.44% of the overall salt, meaning the nitrite itself is only about 0.8%. The Basic Dry Cure is handy stuff to have around – it can be used directly as is to make bacon or tasso ham, for example, or added in place of a given salt quantity to judge the effect of a true nitrite cure.
The main thing to think about when playing with brine is the overall strength, as a percentage of salt. I take a 5% brine as my standard strength, figuring that fish live in the sea, which is around 3.5% salt, and so you if you want them to taste seasoned they need a little bit more than that. How’s that for science? But you will seriously find 5% or 6% as a general standard. This is a snap to work with in the metric system. A 5% brine is 50 grams of salt per liter (1000 ml, which is also 1000 grams) of water, which in our awkward world works out to about 12 grams of salt per cup.
By some mystical circumstance, 12 grams of salt is about one generous tablespoon of Diamond Crystal kosher salt, which is my kitchen standard. It’s also the least salty salt around, because many of the crystals are hollow – you can actually crinkle it onto food, where its natural cragginess helps it stick to smooth surfaces. These same characteristics also make it the lightest commercial table salt, at just 10 g per level tablespoon. Morton’s coarse kosher salt, their great competitor and also a fine product, weighs in at 17 grams per tablespoon, which is the typical quoted standard.
This, of course, got me curious. Looking for yet more extreme examples, I hunted around in my nether pantry (exotic salt is a go-to gift for Poppa Larry) and rediscovered both a lovely Tunisian fleur de sel with giant hollow crystals that weighed just 9 grams per tablespoon, and a fine sea salt that weighed exactly double that for the same volume. So there you go – when it counts, weigh your salt. And if you’re like me, check the back shelves of your pantry now and then.
Here are a few favorite brined fish recipes. I think you’ll find this Baked Kippered Salmon rivals anything you can find in a deli. The curing process – plus a slow oven and a watchful eye on the thermometer – give it a melting tenderness that makes it rival even the best lox as a bagel topping. It’s also perfect on salads, or flaked into a creamy pasta dish.
Baked Kippered Salmon
Curing before baking is the secret to this super-tender, tasty salmon.
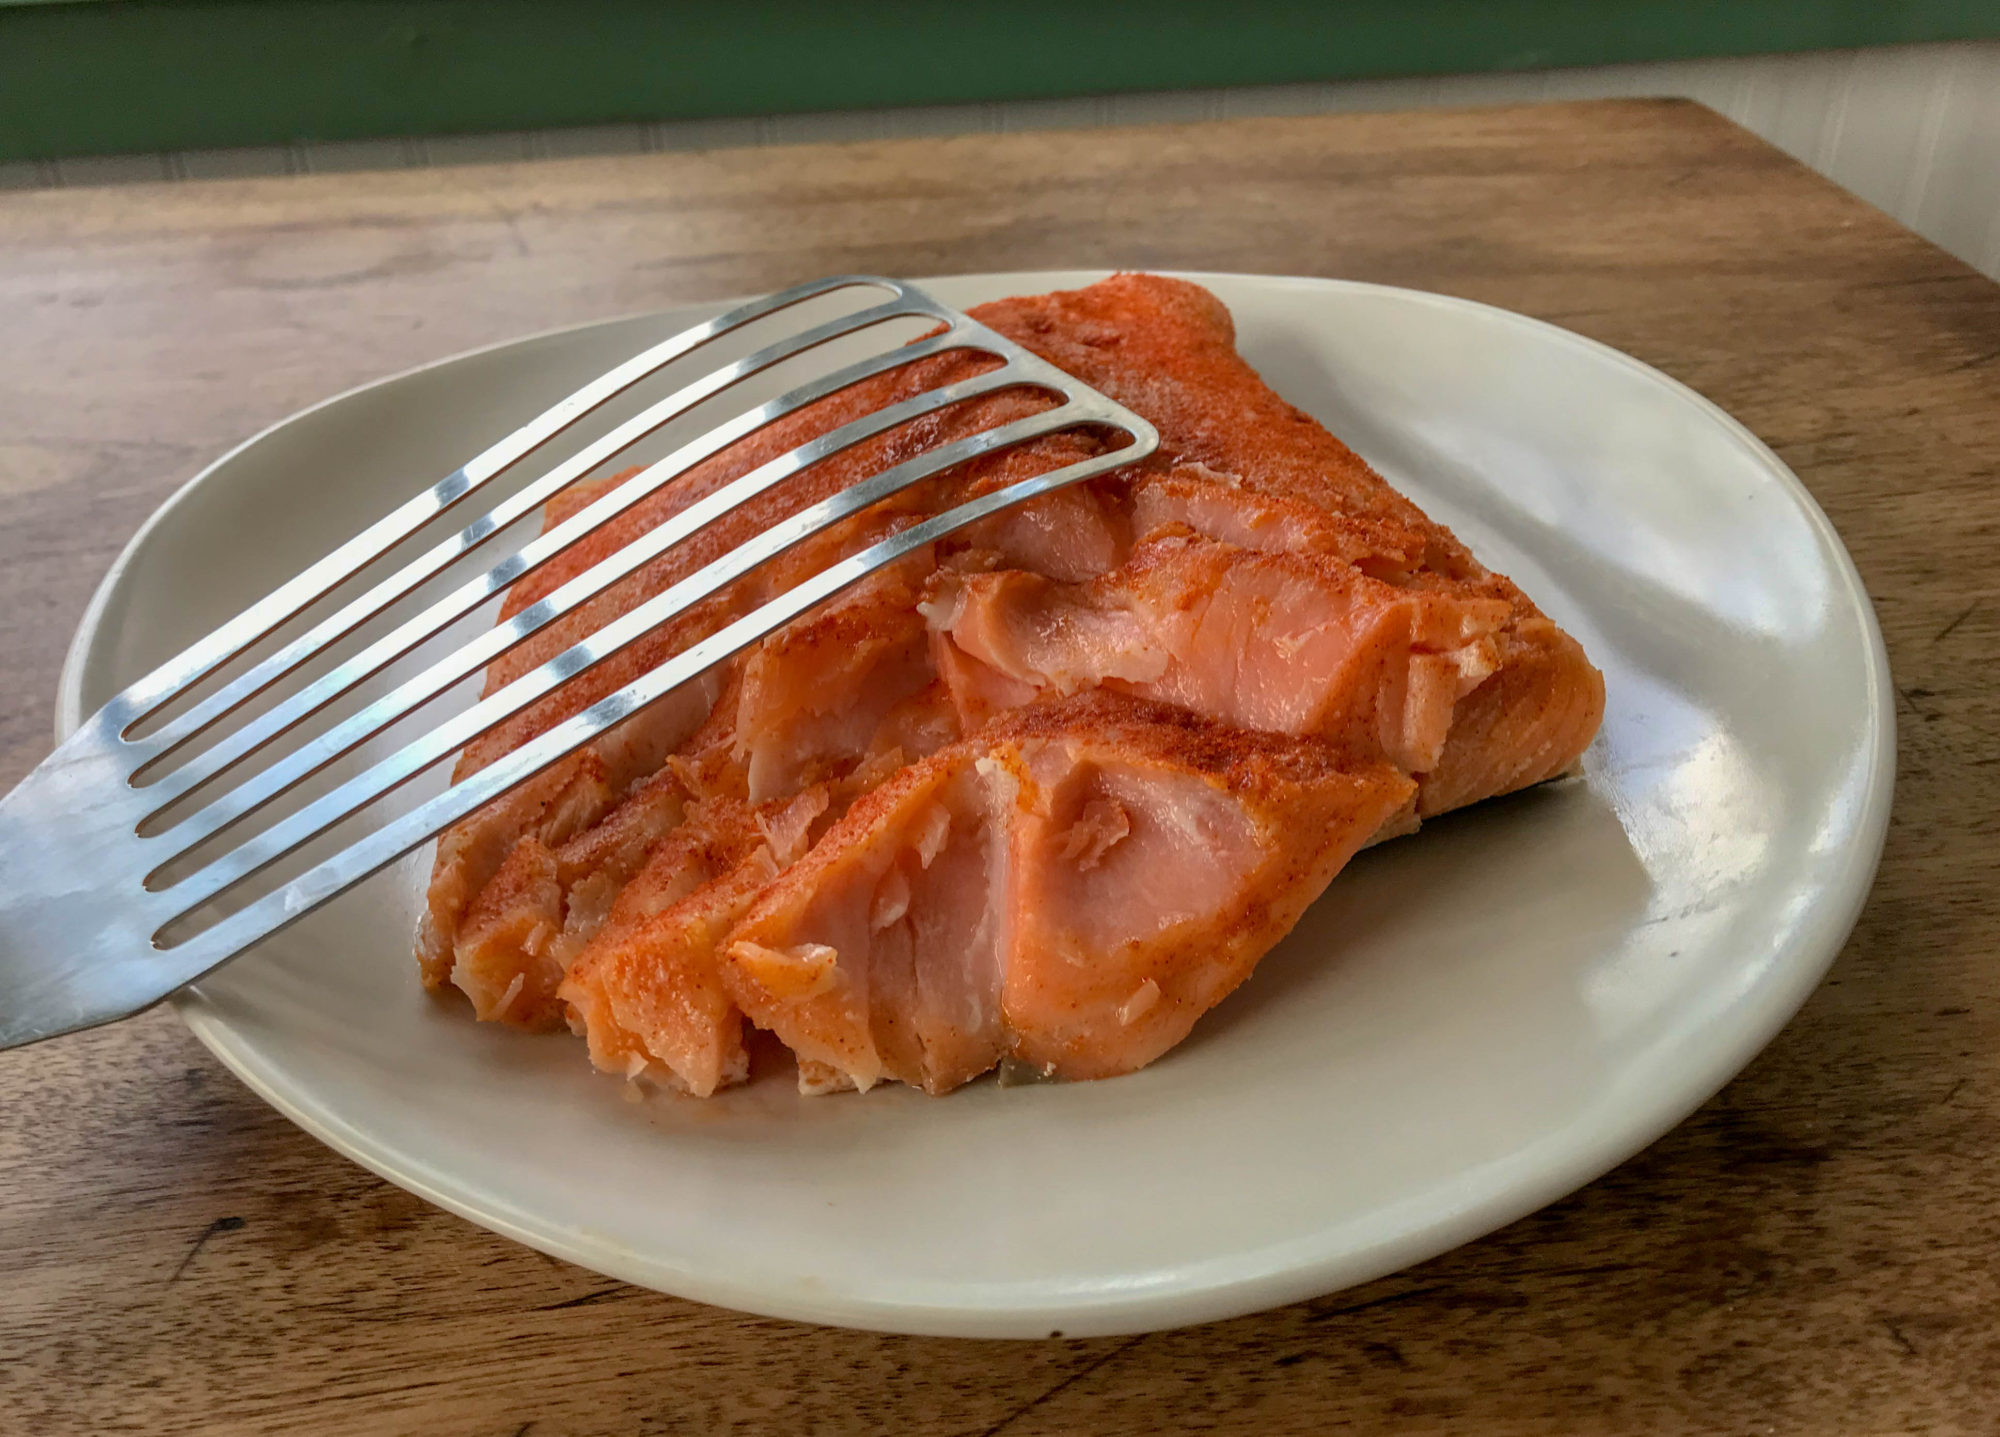
Can I convince you to add a little sodium nitrite to your diet? The pink salt version of this recipe is both firmer and juicier than the one made with a plain salt brine. In any case - mix up the brine ingredients and make sure they are quite cool before adding the salmon, then store in the fridge for exactly, precisely 12 hours. OK, just kidding - how about anywhere from 1 to 24 hours? Just one hour is enough to plump up the fish; 24 is about when absorption really slows down, and you're just giving it a bath. 12 hours is a nice compromise.
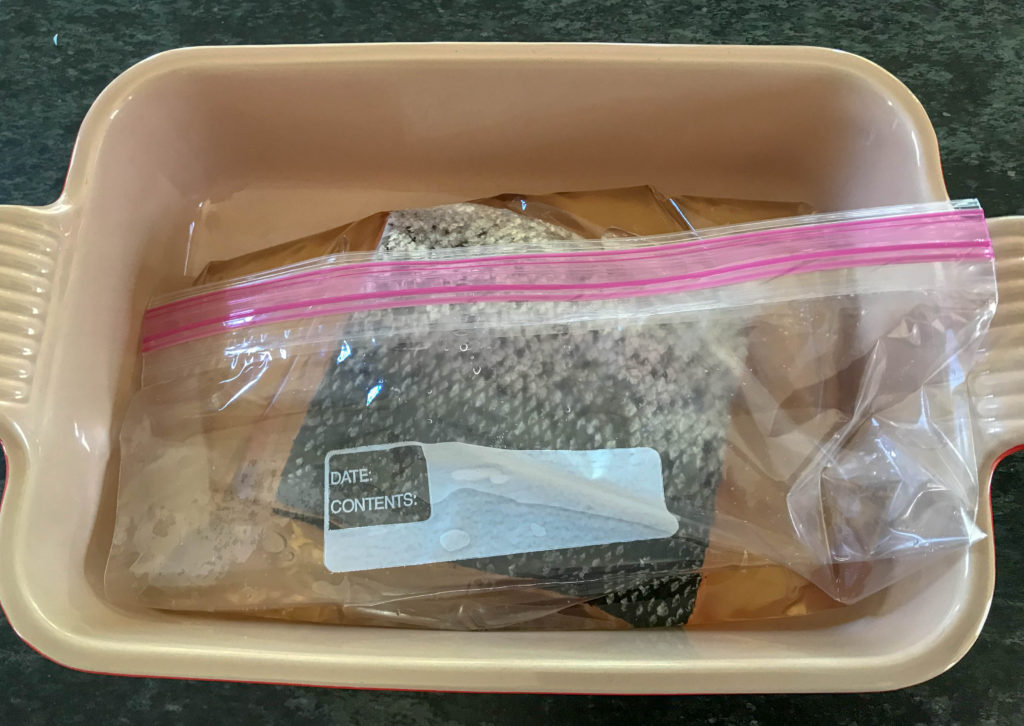
Preheat the oven to 225 F. Drain the salmon, pat dry with paper towels, sieve on the paprika and bake until the internal temperature just reaches 120 F, about 40 minutes - I recommend an iGrill device, but an instant-read thermometer will do. This should cook slowly enough to avoid the white lips of coagulated protein that like to form in the crevices.
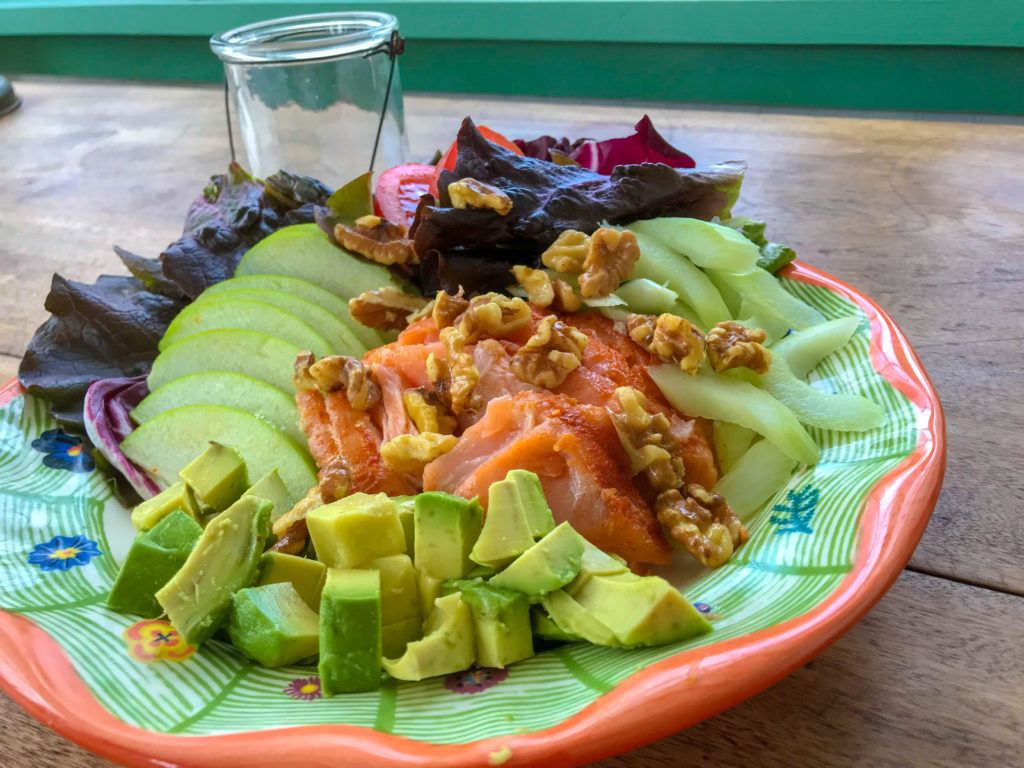
Let cool completely before refrigerating. This is great on bagels - better than lox, some say, because you can lay it on thicker - but also makes a luscious, summery salad. The waldorf-y version below is just the kippered salmon plated on red lettuce with celery, avocado, toasted walnutes and thin slices of sweet green Granny Smith apple.
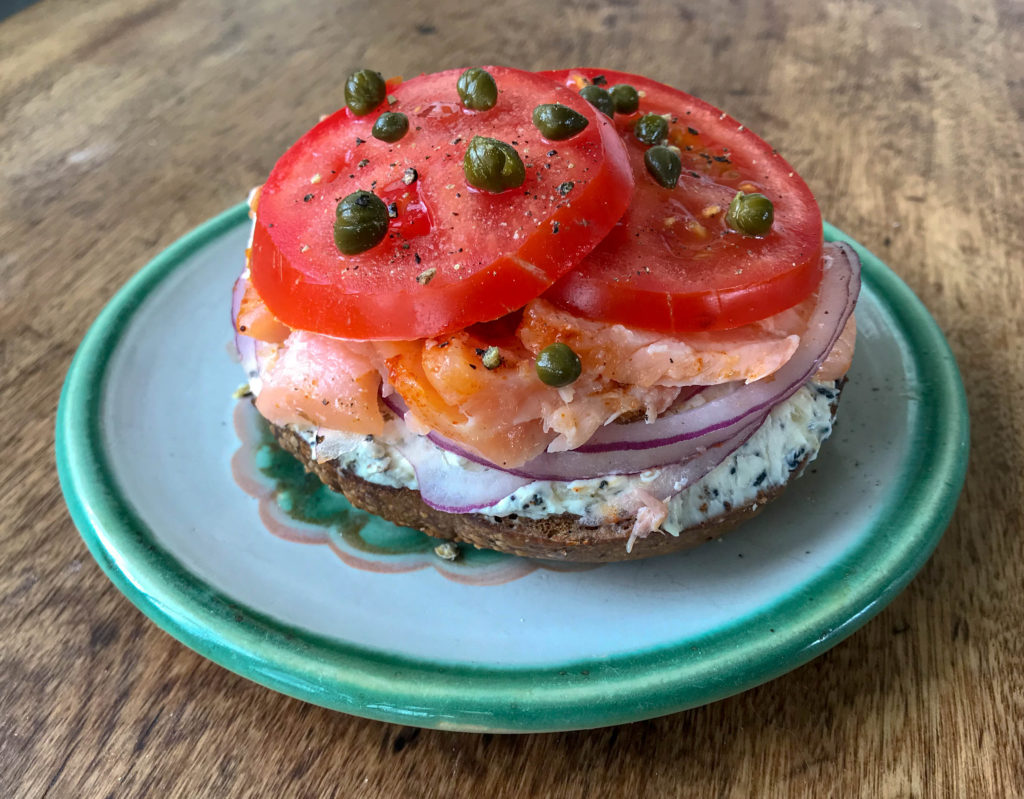
As I was saying, kippered salmon can definitely hold its own on a bagel. Here's a camera-ready specimen that appeared briefly on a pumpernickel bagel spread with my Everything Schmear, along with red onion, tomatoes and capers. It disappeared soon after.
Ingredients
Directions
Can I convince you to add a little sodium nitrite to your diet? The pink salt version of this recipe is both firmer and juicier than the one made with a plain salt brine. In any case - mix up the brine ingredients and make sure they are quite cool before adding the salmon, then store in the fridge for exactly, precisely 12 hours. OK, just kidding - how about anywhere from 1 to 24 hours? Just one hour is enough to plump up the fish; 24 is about when absorption really slows down, and you're just giving it a bath. 12 hours is a nice compromise.

Preheat the oven to 225 F. Drain the salmon, pat dry with paper towels, sieve on the paprika and bake until the internal temperature just reaches 120 F, about 40 minutes - I recommend an iGrill device, but an instant-read thermometer will do. This should cook slowly enough to avoid the white lips of coagulated protein that like to form in the crevices.
Let cool completely before refrigerating. This is great on bagels - better than lox, some say, because you can lay it on thicker - but also makes a luscious, summery salad. The waldorf-y version below is just the kippered salmon plated on red lettuce with celery, avocado, toasted walnutes and thin slices of sweet green Granny Smith apple.

As I was saying, kippered salmon can definitely hold its own on a bagel. Here's a camera-ready specimen that appeared briefly on a pumpernickel bagel spread with my Everything Schmear, along with red onion, tomatoes and capers. It disappeared soon after.

Moishe’s Pickled Salmon Appetizer is a culinary time warp – you can eat it in the back seat of your DeLorean. I much prefer it to the typical clear deli versions, which for me don’t work well with salmon. The Heinz chili sauce is just right in this context. Overall, this is the kind of dish I could feed to a Canadian uncle, who would then say, “they charge you a fortune for this at Moishe’s.”
Moishe’s Pickled Salmon Appetizer
An old-school recipe from a famous Montreal steakhouse.
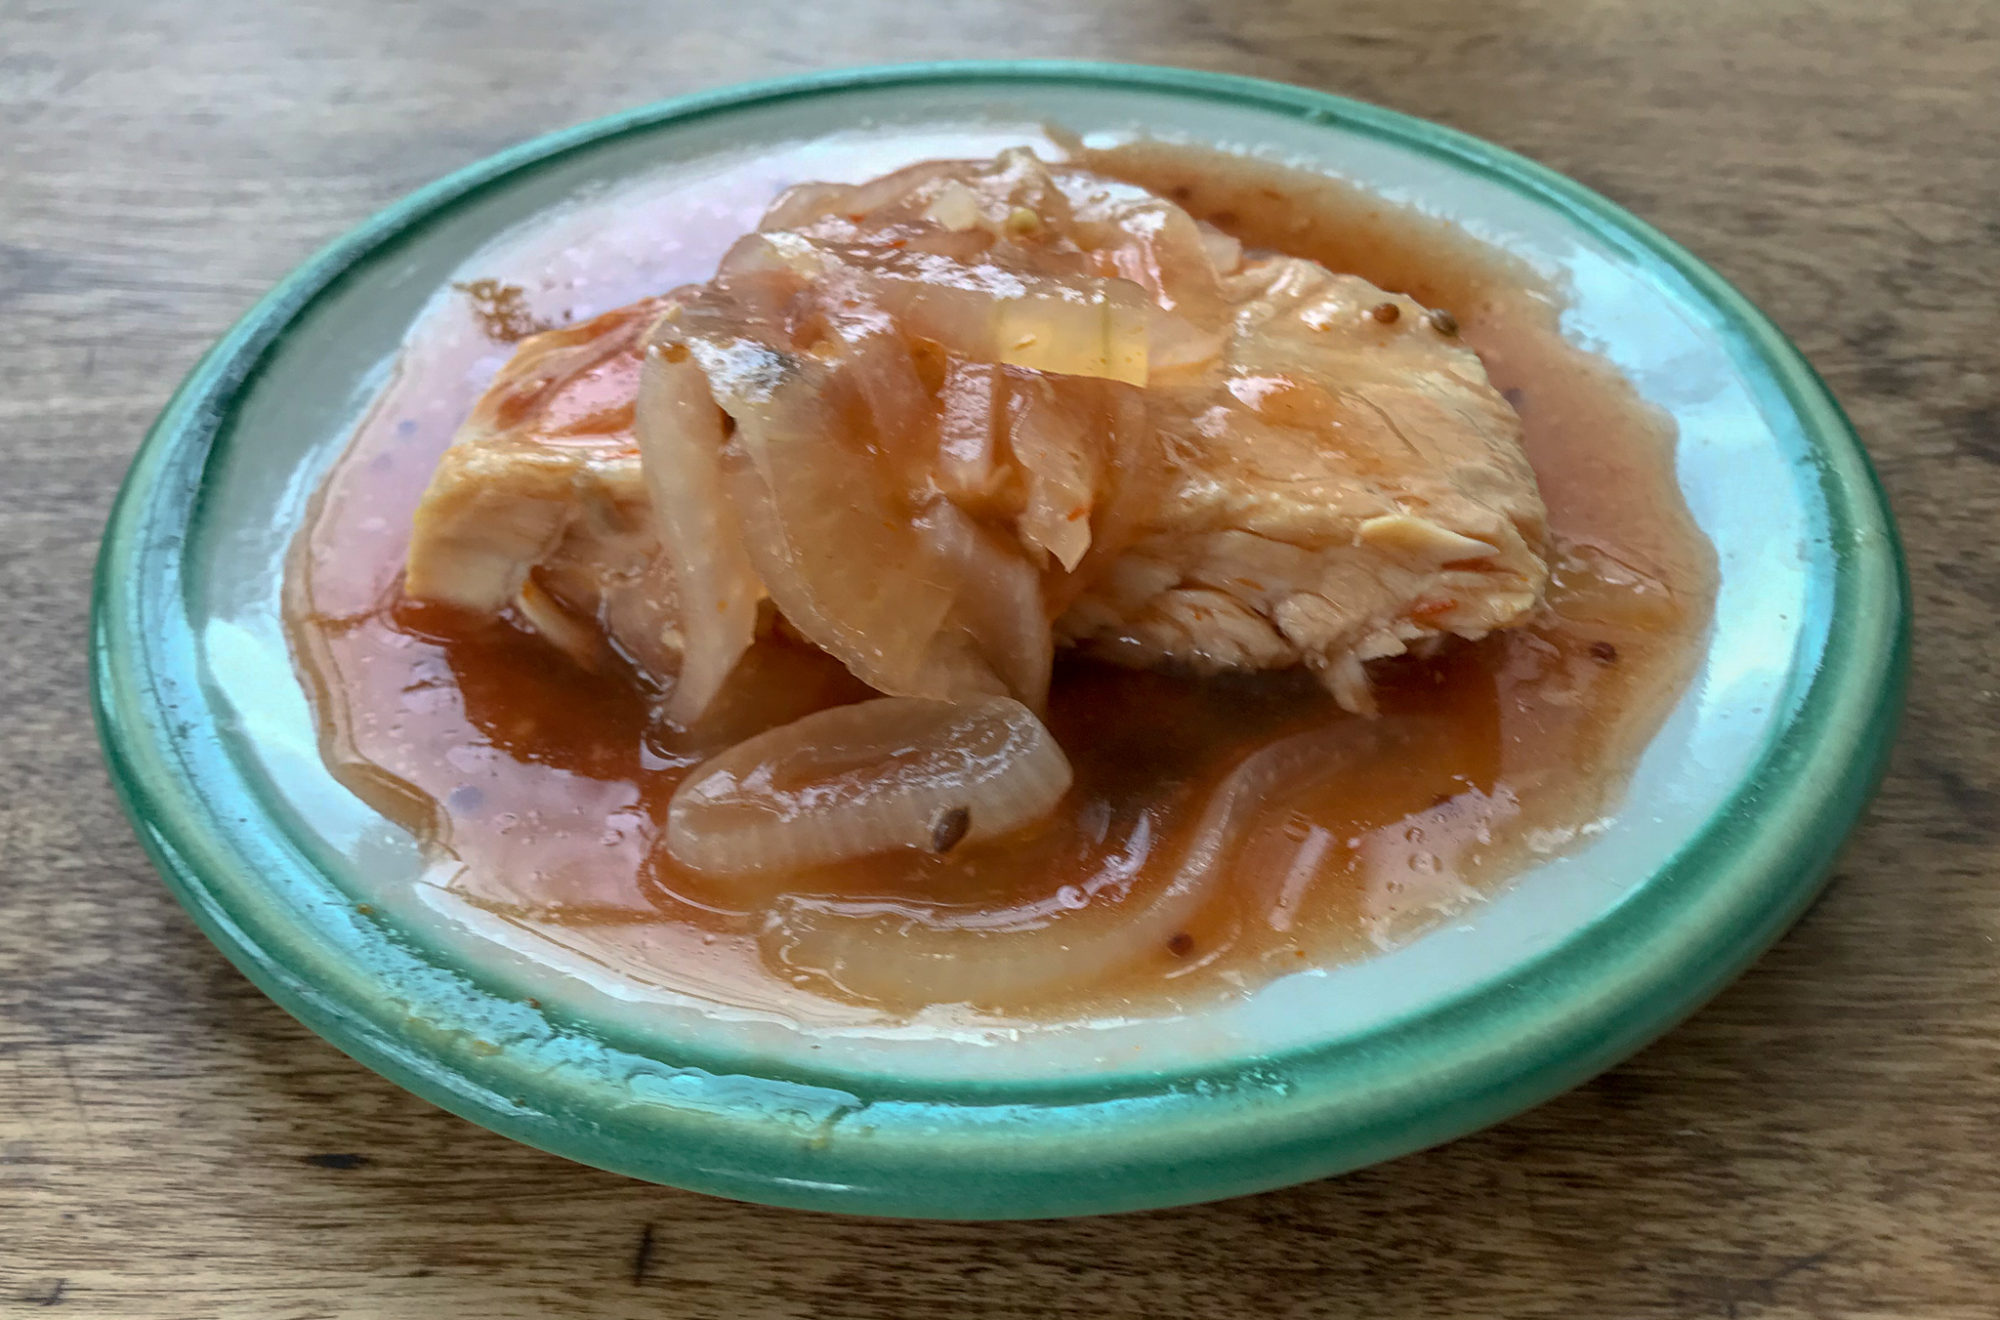
This is easier to plate up when poached in portions: remove salmon skin and cut fish into four equal rectangular pieces. Bring water, salt, and bay leaf to a gentle boil, lower in the salmon and poach until just done through, about 3 or 4 minutes. Remove and let cool.
Place the rest of the ingredients, except the onion, in a small saucepan and heat just until the sugar and salt dissolve, then remove from heat and let cool. Place the salmon portions in a storage container or small baking dish, cover with the onion slices, and pour in the fully cooled pickling liquid (through a strainer, if you like). Store covered overnight in the fridge to let the flavors develop, and the onion wilt. Lasts at least 3 or 4 days and up to a week. Serves 4.
Note: if you use a pickling spice mix with crumpled bay leaves, use the strainer. For home use, I just pick out the bay leaves and serve with the other whole spices.
Ingredients
Directions
This is easier to plate up when poached in portions: remove salmon skin and cut fish into four equal rectangular pieces. Bring water, salt, and bay leaf to a gentle boil, lower in the salmon and poach until just done through, about 3 or 4 minutes. Remove and let cool.
Place the rest of the ingredients, except the onion, in a small saucepan and heat just until the sugar and salt dissolve, then remove from heat and let cool. Place the salmon portions in a storage container or small baking dish, cover with the onion slices, and pour in the fully cooled pickling liquid (through a strainer, if you like). Store covered overnight in the fridge to let the flavors develop, and the onion wilt. Lasts at least 3 or 4 days and up to a week. Serves 4.
Note: if you use a pickling spice mix with crumpled bay leaves, use the strainer. For home use, I just pick out the bay leaves and serve with the other whole spices.
Finnan Haddie is a lovely product to work with – it has deep ocean flavor, a smoky firmness, freezes beautifully, and can mate up with anything from a stuffed baked potato to chowders both creamy and brothy. It’s also part of a classic Scottish breakfast, either poached or fried up with bacon.
Finnan Haddie
A classic cold-smoked product with centuries of Scottish tradition.
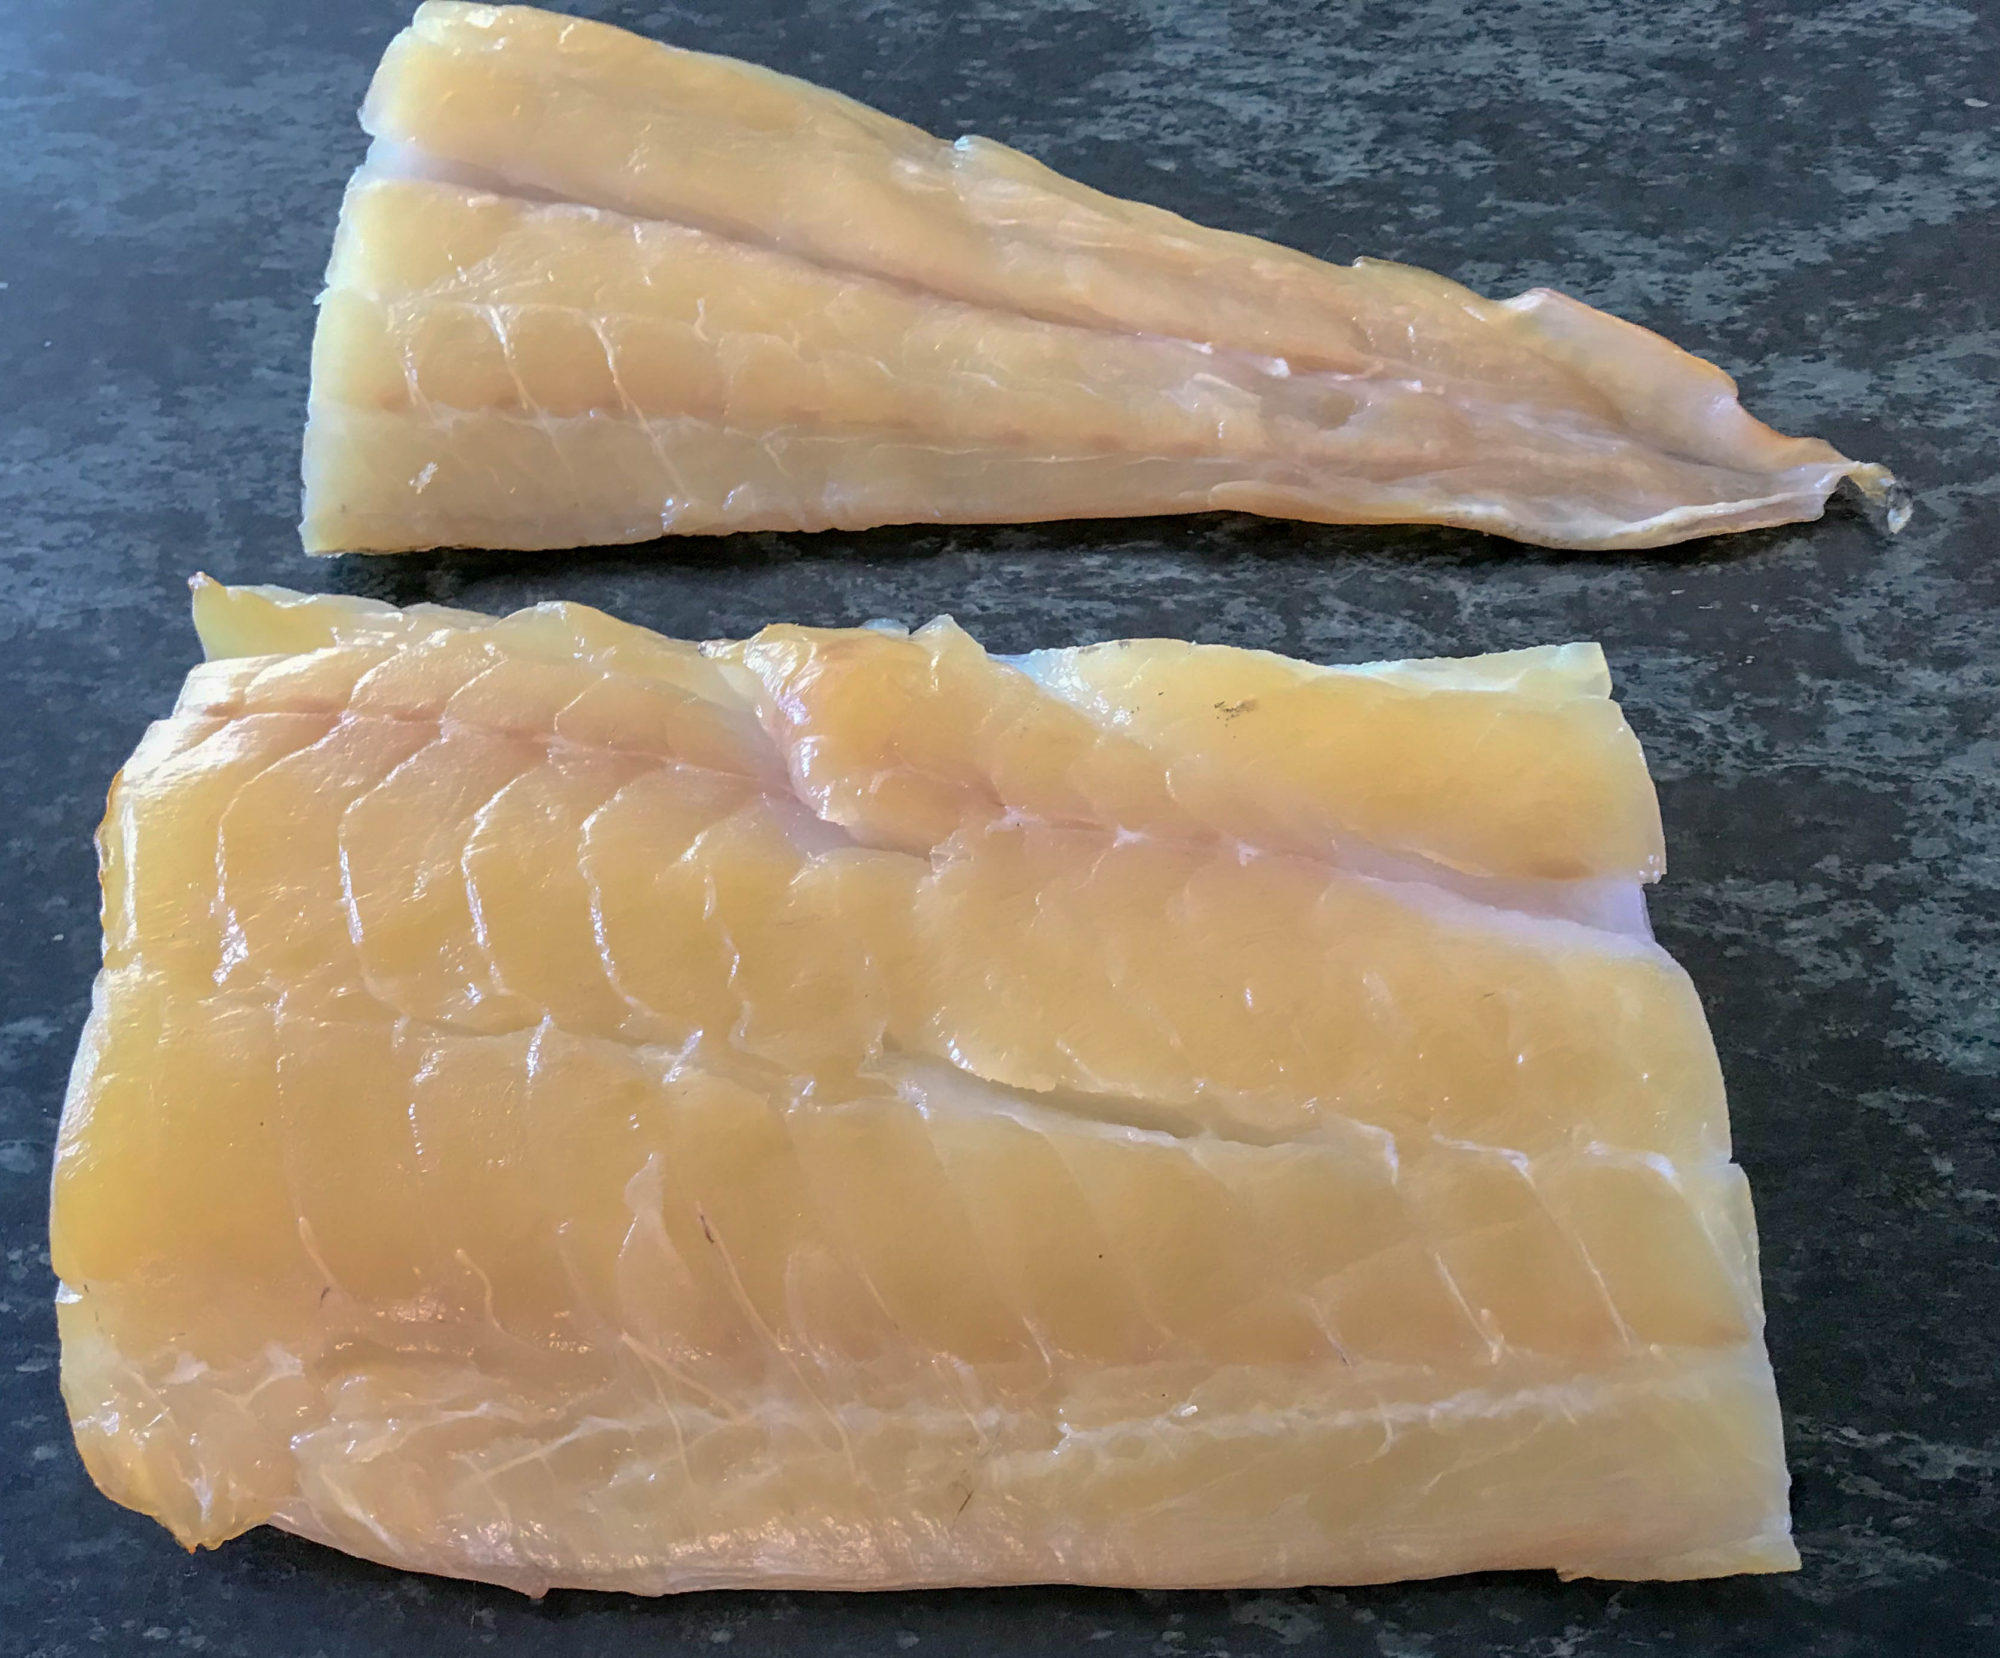
I owe much to one of my favorite sites, Serious Eats, for their great recipe for Cullen Skink, a classic, creamy Scottish chowder whose main ingredient is finnan haddie, or cold-smoked haddock. Until I read their recipe, it hadn't sunk in that finnan haddie was a cold-smoked product that I had heretofore ignored, and that I could use their simple brine and my handy trash can smoker to have some ready by dinnertime.
I'll pause here to remind fellow Eaters that it's good practice to weigh the ingredients for brines and similar chemistry-class type recipes, especially due to variations in salt volume among styles and brands. So we'll bow to the natural superiority of the scale and the metric system.
First, make a brine: add the sugar and salt to 500 ml of water in a small saucepan, and heat until it just dissolves. Pour the mixture into a large bowl, add about 500 g of ice to cool things off, and then add another 1000 ml of cold water. Stir or let sit until the ice dissolves.
When the mixture is quite cool - refrigerate if necessary - add the fish. I've sized this recipe for 2 lbs., but 2 liters is plenty of brine for a good 5 lbs of haddock, so if you're an optimist you can go all the way here and freeze what you don't use. Let the fish loll in the brine, in the fridge, for just one hour. Remove and pat dry with paper towels.
Next, let the fish rest, uncovered, on a rack in the fridge for another few hours or overnight. This is just to develop a bit of a sticky skin, or pellicle, that will help the smoke particles stick. Don't omit this step. But - if you are desperate for time, Poppa Larry has found that one hour in front of an ordinary room fan will produce the same result.
You're ready to start smoking! If you're a newbie, keep in mind that cold-smoking is not supposed to cook your fish, just cover it with tiny smoke particles. This is why you can't use an ordinary smoker or BBQ grill, and should only smoke in a temperature range between 25 and 65 degrees F. Much higher and you risk raising the fish temp to over 80 or 85 degrees F, where the proteins can start to link up and turn your nice recipe into haddock jello. You can then either try and create an entire new style of fish cuisine, or just cook it the rest of the way.
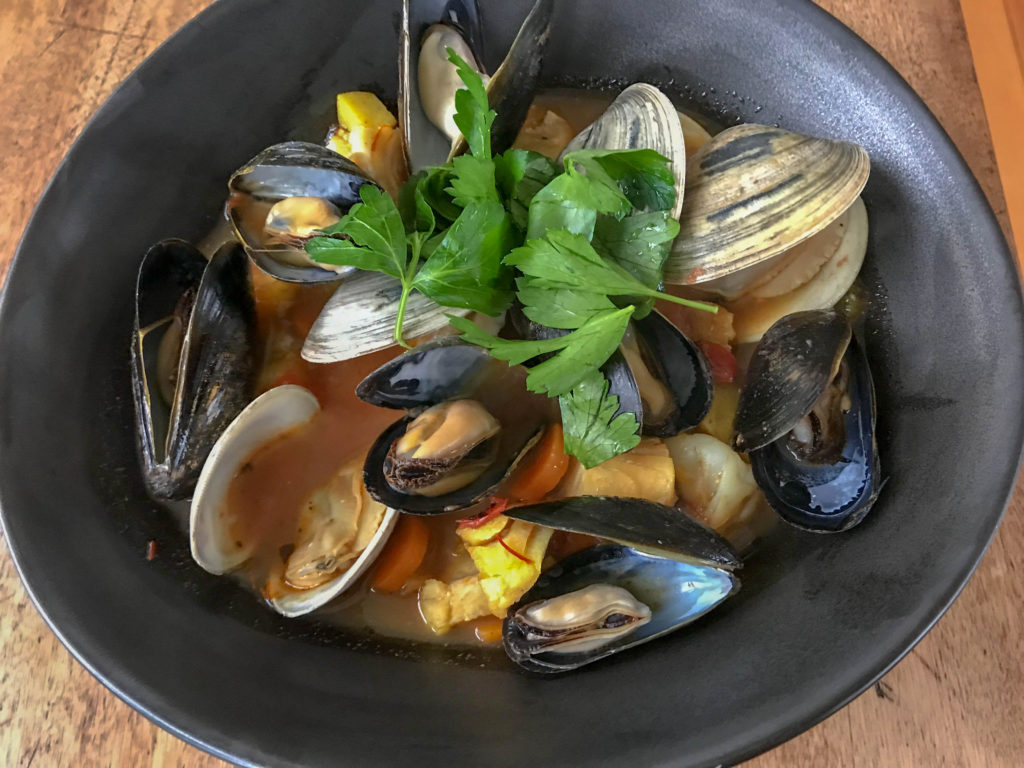
So - if you have a patch of backyard or rooftop, follow the trash can link in the directions above to smoke the hell out of that fish. Use oak or cherry if you have it, and smoke for a full 6 hours, with both ends of the A-Maze-N gadget smoldering. For recipes, I can personally recommend the above Cullen Skink, this nice baked potato from the British superstar chef Nigel Slater, or my own lovely Scotch Manhattan Bouillabaisse, pictured below.
Ingredients
Directions
I owe much to one of my favorite sites, Serious Eats, for their great recipe for Cullen Skink, a classic, creamy Scottish chowder whose main ingredient is finnan haddie, or cold-smoked haddock. Until I read their recipe, it hadn't sunk in that finnan haddie was a cold-smoked product that I had heretofore ignored, and that I could use their simple brine and my handy trash can smoker to have some ready by dinnertime.
I'll pause here to remind fellow Eaters that it's good practice to weigh the ingredients for brines and similar chemistry-class type recipes, especially due to variations in salt volume among styles and brands. So we'll bow to the natural superiority of the scale and the metric system.
First, make a brine: add the sugar and salt to 500 ml of water in a small saucepan, and heat until it just dissolves. Pour the mixture into a large bowl, add about 500 g of ice to cool things off, and then add another 1000 ml of cold water. Stir or let sit until the ice dissolves.
When the mixture is quite cool - refrigerate if necessary - add the fish. I've sized this recipe for 2 lbs., but 2 liters is plenty of brine for a good 5 lbs of haddock, so if you're an optimist you can go all the way here and freeze what you don't use. Let the fish loll in the brine, in the fridge, for just one hour. Remove and pat dry with paper towels.
Next, let the fish rest, uncovered, on a rack in the fridge for another few hours or overnight. This is just to develop a bit of a sticky skin, or pellicle, that will help the smoke particles stick. Don't omit this step. But - if you are desperate for time, Poppa Larry has found that one hour in front of an ordinary room fan will produce the same result.
You're ready to start smoking! If you're a newbie, keep in mind that cold-smoking is not supposed to cook your fish, just cover it with tiny smoke particles. This is why you can't use an ordinary smoker or BBQ grill, and should only smoke in a temperature range between 25 and 65 degrees F. Much higher and you risk raising the fish temp to over 80 or 85 degrees F, where the proteins can start to link up and turn your nice recipe into haddock jello. You can then either try and create an entire new style of fish cuisine, or just cook it the rest of the way.
So - if you have a patch of backyard or rooftop, follow the trash can link in the directions above to smoke the hell out of that fish. Use oak or cherry if you have it, and smoke for a full 6 hours, with both ends of the A-Maze-N gadget smoldering. For recipes, I can personally recommend the above Cullen Skink, this nice baked potato from the British superstar chef Nigel Slater, or my own lovely Scotch Manhattan Bouillabaisse, pictured below.

